
Corrugated Board Crush Problems: Caliper Loss, Flute Damage, and Pressure Marks
Corrugated board crush usually starts as a very practical production problem. The sheet feels softer than normal. The board caliper is lower after one section. A straight pressure band appears across the width. When the board is cut open, the flute profile looks lower or partly flattened.
The best first move is to follow the board through the line. Take a board before the suspected area, another board after it, and one more after the next downstream section. Keep the machine direction and left-center-right positions clear. The point where caliper first drops usually tells more than the final stack sample.
After that point is found, the check becomes more focused. Board grade, paper moisture, flute structure, nip load, roll gap, roll parallelism, feeder pressure, printing contact, and roller condition can be reviewed around the right section instead of being guessed from the finished board.
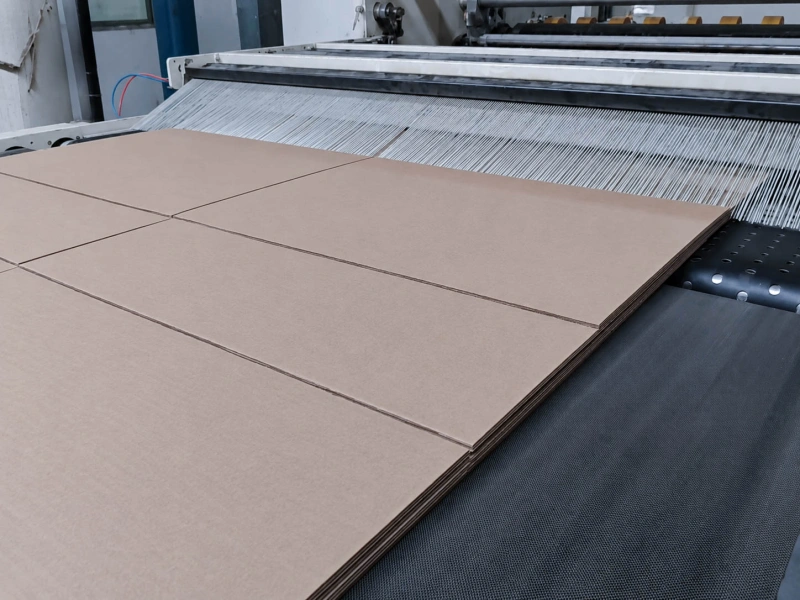
Read the Board Section Before Adjusting the Line
A surface mark can look serious while the board structure is still intact. A crushed flute can also hide under a light surface mark. Cutting the board gives a faster answer than looking from the top.
Take one piece from the marked area and one piece from a normal area of the same run. Cut through both pieces and compare the flute shape. If the flute arches are still open and the caliper is close to normal, the problem may be closer to surface contact, printing, coating, belt contact, or handling. If the flute has lost height and the board is thinner, the board has been compressed.
This section check is especially useful when the board feels soft but the visible mark is light. In that case, the surface may not look dramatic, but the internal structure may already be damaged.
| What You See in the Board | What It Usually Points To |
|---|---|
| Lower caliper with flattened flutes | Structural crush or flute damage |
| Normal caliper with a surface line | Surface mark, print mark, belt mark, or handling mark |
| Liner separating from the medium | Glue or bonding direction |
| One side lower than the other | Cross-width pressure or board variation |
| Similar mark repeating at fixed spacing | Roller, belt, feeder, or other repeated contact |
The Board May Have Less Pressure Margin Than Before
A pressure setting can stay the same while the board becomes easier to crush. This is common after a board grade change, paper batch change, flute type change, humidity change, or speed change.
Lighter board structures usually have less margin against compression. A different flute height or flute spacing can change how the board reacts under the same contact load. Paper moisture also changes the result quickly. Dry board can become less forgiving under pressure. High or uneven moisture can let the structure compress more easily. When one edge crushes faster than the other, both cross-width moisture and cross-width pressure deserve attention.
This is where many lines lose time. The visible problem appears after a nip or feeder, so pressure gets adjusted first. The setting may be part of the problem, but the trigger may have started with the board condition. Compare the current order with the last stable order before making large changes.
Follow the Pressure Path Through the Line
Corrugated board can be damaged by one heavy pressure point, or by several contact points adding up. The useful path is simple: check where the board is pressed, held, pulled, transferred, printed, or stacked.
If the board is already thinner before the feeder, the source is earlier. If it is normal before the feeder and lower after the feeder, the feeder area deserves close attention. If the board is normal before printing and shows bands after printing, the print section and its entry contact become the main area to check.
For paper and board converting positions, Paper Converting Rollers can help locate common contact points such as feed, transfer, support, and pressure-related roller positions. The page is useful for orientation, while the crush check still depends on the actual sample sequence from the line.
A straight band should be matched with a real machine position. Place the sample back in machine direction and compare the band with the roll face, belt edge, feeder wheel, or print contact line. If the mark repeats, measure the distance and compare it with roller circumference, belt cycle, or feeder repeat. This often separates a random handling mark from a repeating contact problem.
Pressure Rolls Need Real Contact Checks
When caliper drops right after a pressure area, the pressure roll, gap, and loading condition should be checked at the same time. Looking only at the pressure number on the panel can mislead the team. The displayed setting may be stable while the real contact is heavier on one side, tighter in the center, or changing during speed fluctuation.
The contact line across the width matters. A small gap difference can create a clear caliper difference on corrugated board. A roll pair may look parallel when stopped, then behave differently when loaded. Bearing support, shaft fit, mounting condition, roller surface wear, and local surface hardening can all change how pressure reaches the board.
For pressure-contact positions, Pressure Rollers should be judged by the real pressure they deliver to the board. The roll has to hold or support the sheet, but the flute structure still needs enough room to stay open. When the problem shows one-side pressure, fixed repeat marks, vibration, or uneven contact, Rubber Roller Runout and Misalignment is also worth checking.
Downstream Sections Can Crush a Good Board
A board may leave the corrugator with acceptable caliper and lose height later. This happens often around feeding, printing, transfer, hold-down belts, and stacker contact.
The most common field pattern is pressure added to solve movement. A feeder slips, so contact is tightened. A board hesitates, so pressure is increased. A print section needs steadier registration, so the nip is raised. The board runs more steadily, then flute height is lost.
This downstream crush is easy to confirm with samples. If the board is normal before the feeder and thinner after it, the feeder contact should be checked. If the pressure band appears only after printing, the print section pressure and entry feeding should be checked. If the final stack shows damage while earlier samples are normal, the issue may belong to stacking or handling pressure.
Where powered feeding or pulling is involved, grip and pressure should be read together. Poor usable grip can push operators toward higher pressure. That can stabilize board movement and create crush risk at the same time. In these positions, Drive Rollers and Traction Rollers are relevant because surface grip, speed stability, and contact pressure work together.
When a Rubber Roller Becomes Relevant
Wolorin is a rubber roller manufacturer and custom supplier, so the roller-side discussion should start only when the evidence points to a roller position. The useful signs are practical: caliper loss begins after a rubber-covered pressure or feeding roll; the crush is heavier on one side of the roll face; the mark repeat is close to the roller circumference; the line needs extra pressure because feeding or traction is unstable; the problem started after grinding, re-covering, replacement, or bearing work; or the roller surface shows wear, glazing, contamination, swelling, hardening, cracking, or uneven contact.
At that stage, the roller review should stay close to manufacturing and replacement facts. Diameter, face length, shaft details, cover hardness, cover thickness, roller position, working load, surface finish, and old roller condition all help narrow the direction. The contact medium around the roller also matters. A dry board-contact position, a dusty paper area, a printed section, and a cleaning-liquid-exposed area may need different rubber cover directions.
For a standard replacement roller that has worked well for a long time, drawings, sizes, hardness, roller position, and old roller photos may be enough to start. For repeated crush, sensitive board grades, or uneven contact, surface finish, runout, crown, bonding condition, and compound direction may need closer review. If the position needs load support and wear resistance, Polyurethane Rubber Rollers may be one direction to check, depending on the actual contact condition.
Keep Glue and Printing Clues in Their Own Lane
Crush, glue failure, and printing marks can appear near the same place on a board. The section view helps keep the judgment clean. A crushed board usually shows lower caliper and flattened flute shape. A glue problem usually shows liner and medium separation, weak bonding, or local delamination. A printing or coating mark often follows surface appearance while the board thickness stays close to normal.
This boundary matters because the corrective action is different. Glue amount, dry spots, squeeze-out, print density, and ink transfer belong in their own process checks. For corrugated board crush, the main evidence should stay on the board height, flute shape, and the contact point where the board first changed.
What to Record Before Changing a Roller
A good record should show whether the issue comes from board condition, pressure setting, machine alignment, downstream contact, or a specific roller position. It does not need to become a full line study.
Before changing a roller, record the board grade and flute type, caliper before and after the suspected section, paper moisture if available, left-center-right caliper readings, pressure or loading setting, roll gap and parallelism check, feeder or print pressure if downstream crush is suspected, repeat distance of the mark, cross-section photos, old roller photos, roller drawing or dimensions, and the contact medium around the roller.
These details help Wolorin stay within the rubber roller scope. They support custom manufacturing, replacement direction, quotation, and production confirmation when the problem points to a roller position. Inspection items such as dimensions, hardness, surface condition, and runout can be discussed according to the roller position, with related reference available on Wolorin’s Quality Control page.
Related Pages
Send Drawings or Roller Details
When the evidence points to a rubber roller position, send the roller drawing or current dimensions, old roller photos, roller position, rubber hardness if known, contact medium around the roller, board grade, flute type, and the current rubber roller-related problem. Useful problem details include uneven pressure, wear, slipping, repeated marks, or suspected board crush after that roller.
If you already have drawings, sizes, samples, or a clear specification, you can send them to Wolorin directly. We can proceed with custom manufacturing, quotation, or production confirmation based on your documents.
If the information is not complete yet, start with the roller position, old roller photos, contact medium, and the board problem seen after that roller.